Image-Intensified Astrophotography basics
Image-Intensified Astrophotograhy (I2AP) is a technique I seldom see in astrophotography (AP) circles, since the barrier to entry is high (several thousand US dollars for the image tubes) and the resources on shooting I2AP are sparse. I figure there's only a few dozen people scattered across online forums who do I2AP versus the hundreds or even thousands of people using a night vision device (NVD) for electronically-assisted astronomy (EAA). The reasoning for using NVDs in EAA boils down to the average generation 3 image intensifier having a low light gain of ~60,000. In those setups, the telescope is used in place of the objective lens on the NVD, and the light gathered in the telescope is focused onto the image intensification tube (IIT) where it then gets multiplied. This allows one to see objects too dim for a telescope of a certain size, and even allows one to see objects outside the visible spectrum.
When I first got my hands on a PVS-14 (night vision monocular) being able to see the additional stars and the milky way in somewhat light polluted skies, I realized that NVDs could be used for astrophotography. My first images were just okay, nothing too special and certainly nothing impressive. Definitely something that'd get excitedly get posted to the night vision subreddit, but I knew I can do better.
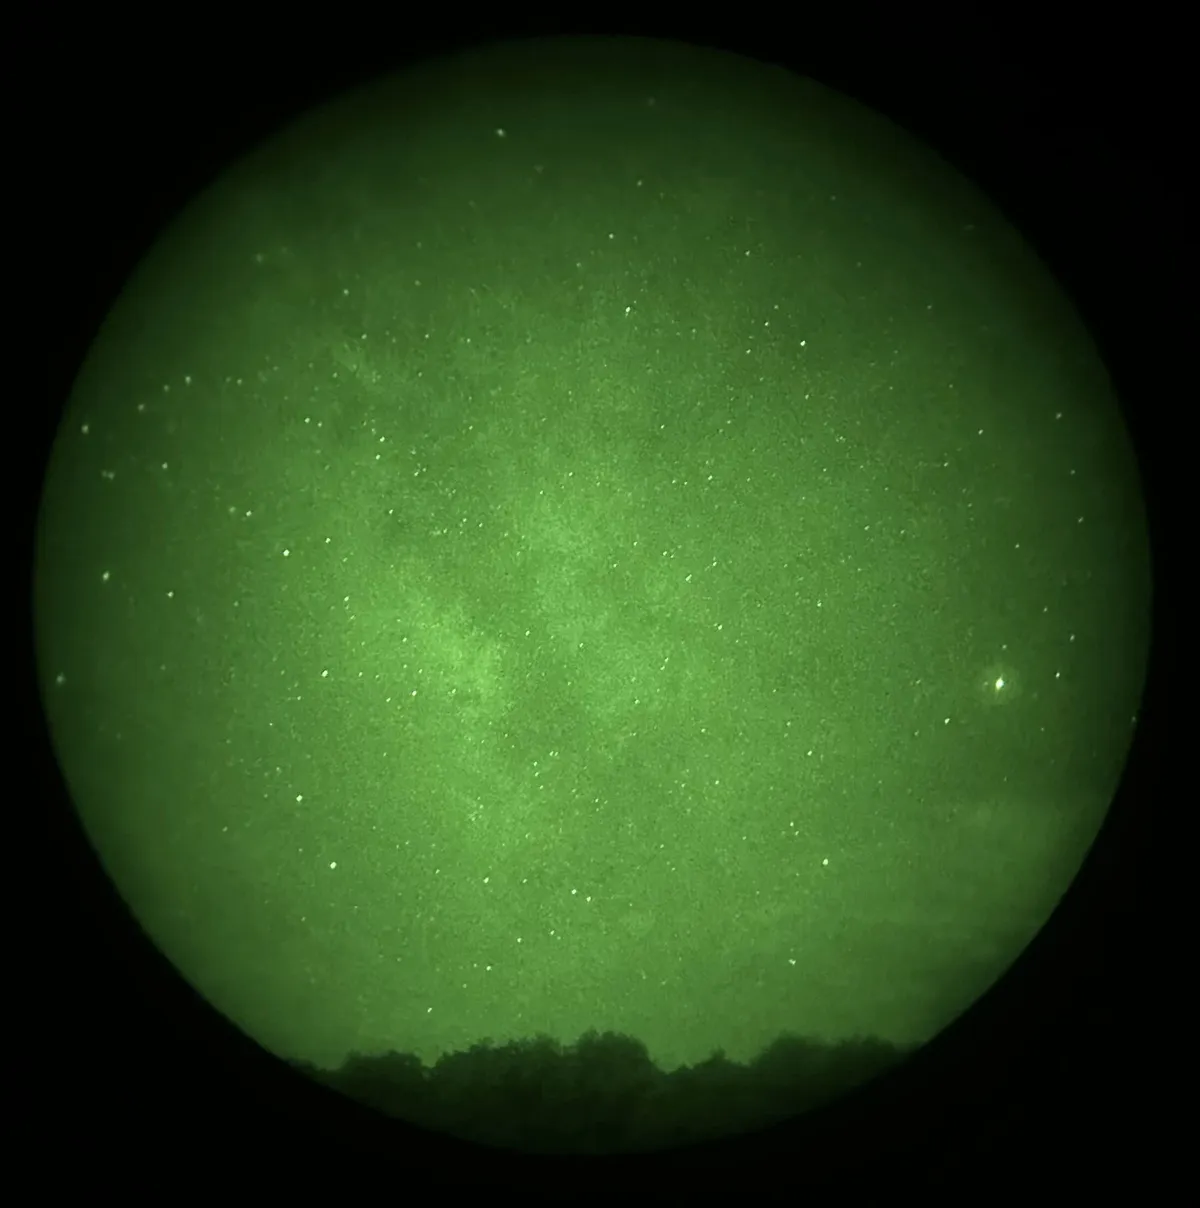 Milky Way, shot on an AN/PVS-14 with a Harris F9815YH tube
From there I would get a DSLR, and a much better image intensifier tube; an L3Harris 18UM with absolutely outstanding specifications. This tube is central to my astrophotography and I plan on using it until I find a tube with higher spatial resolution, less cosmetic blemishes, comparable signal to noise, and a lower dark current (which adds up to an obscenely expensive tube.) My first deep sky object I captured happened to be the Andromeda galaxy (M31) so we'll roll with that.
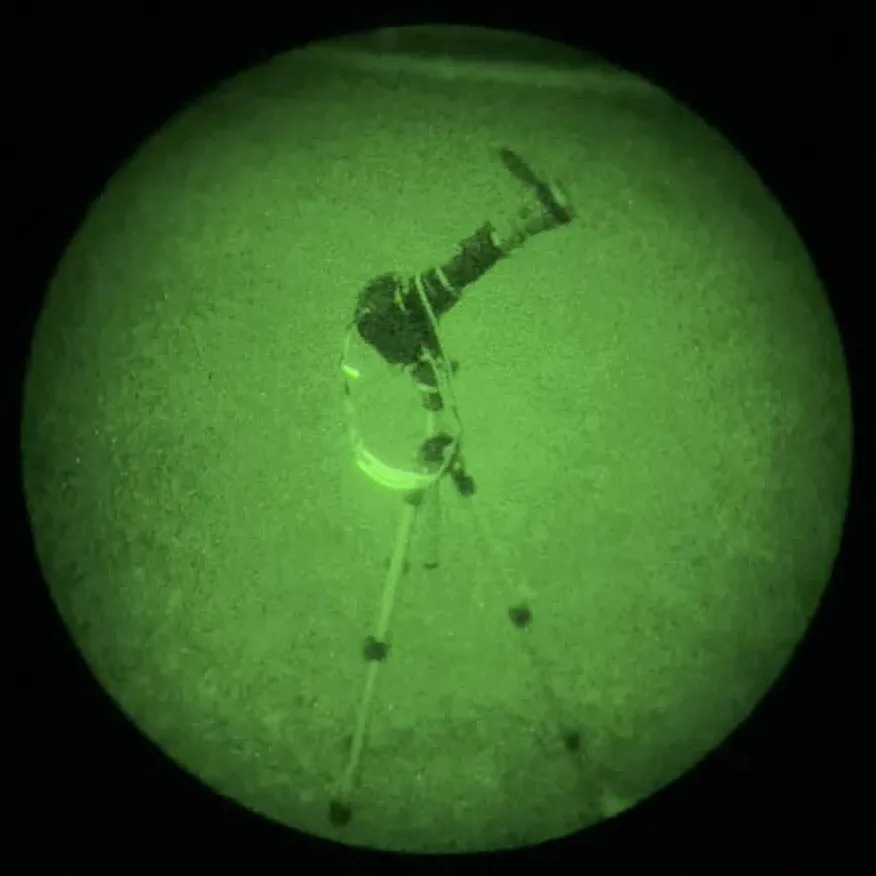
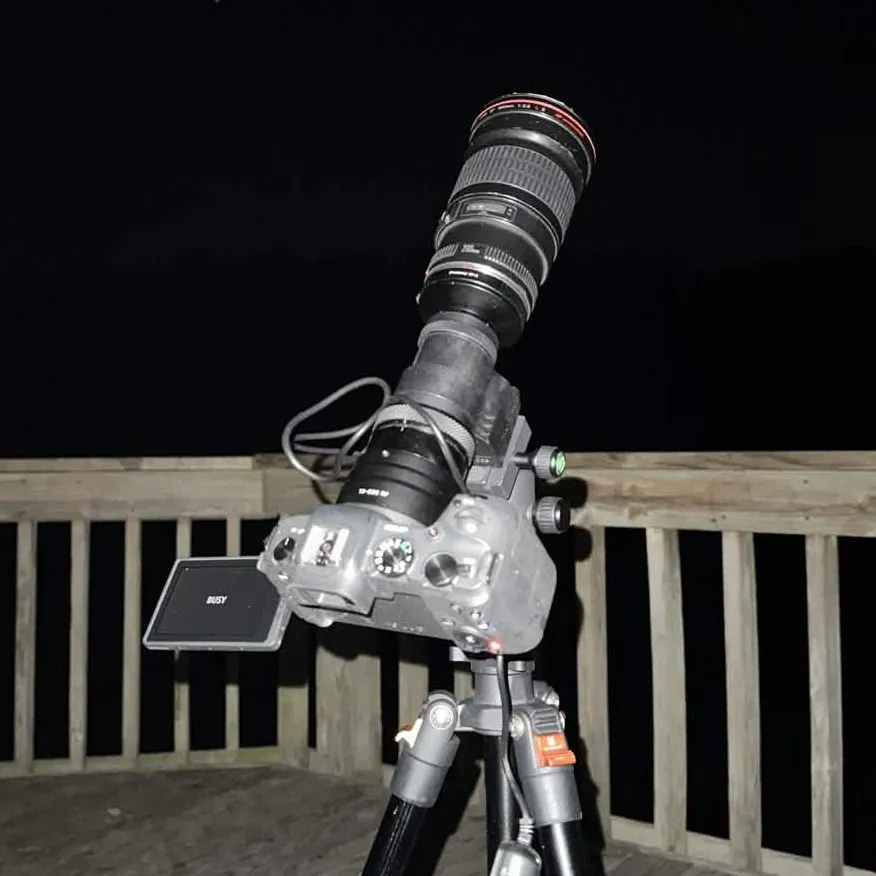
Here's what the setup looked like:
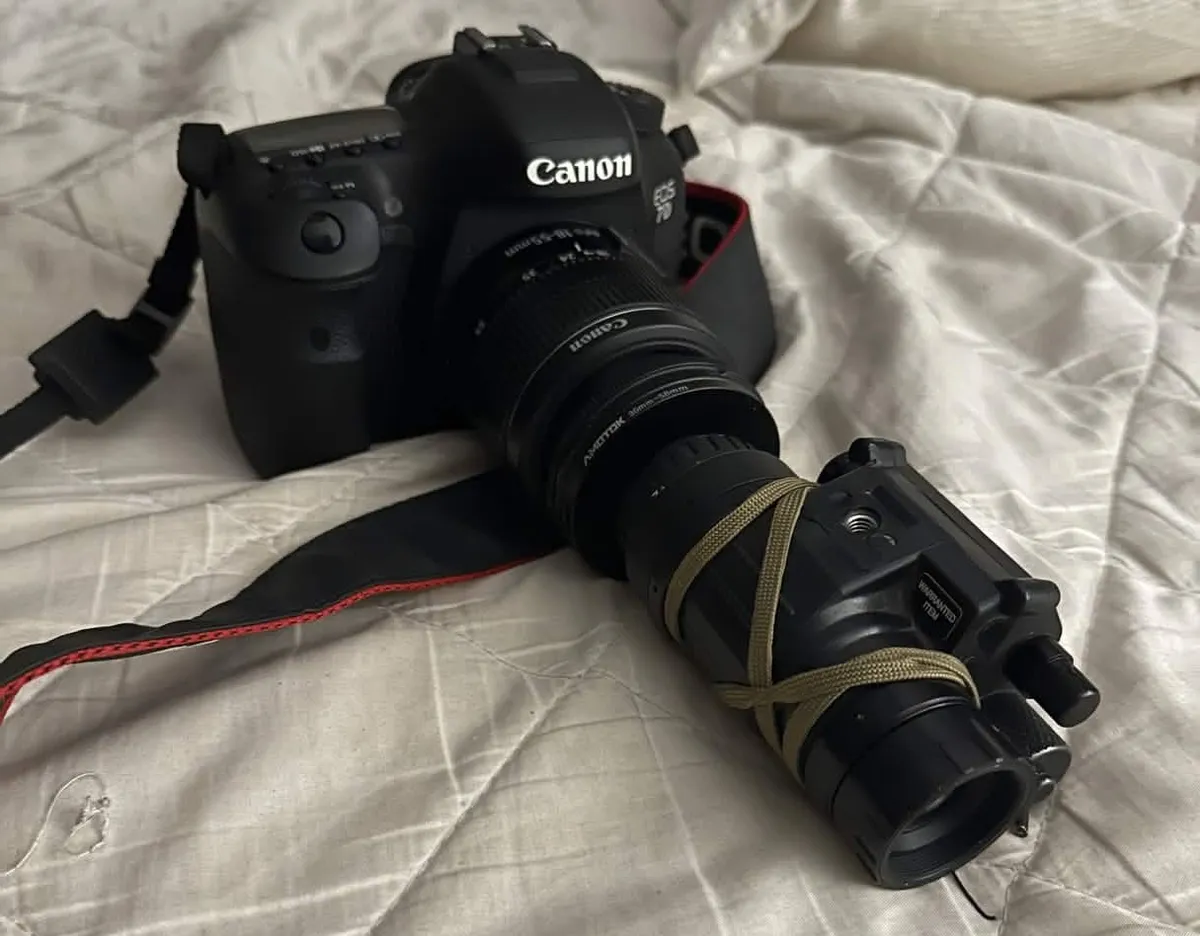 Canon EOS 7D mark II with an AN/PVS-14
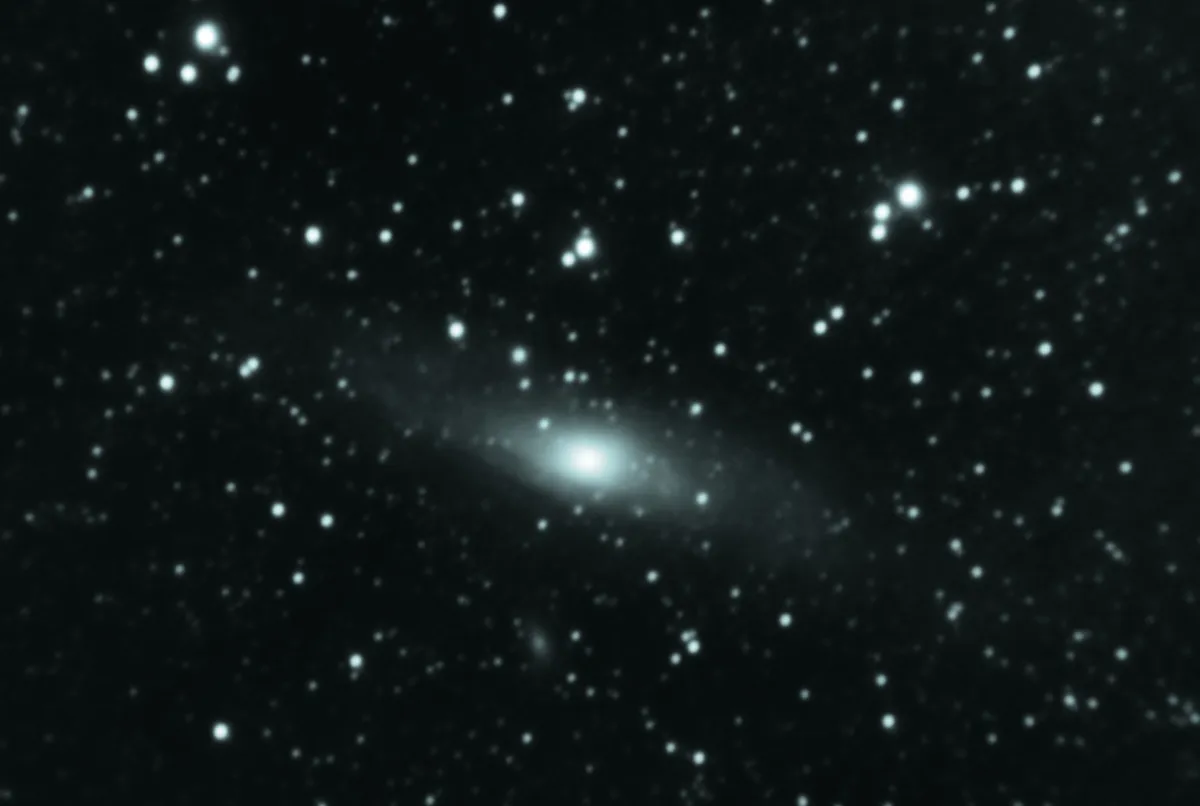
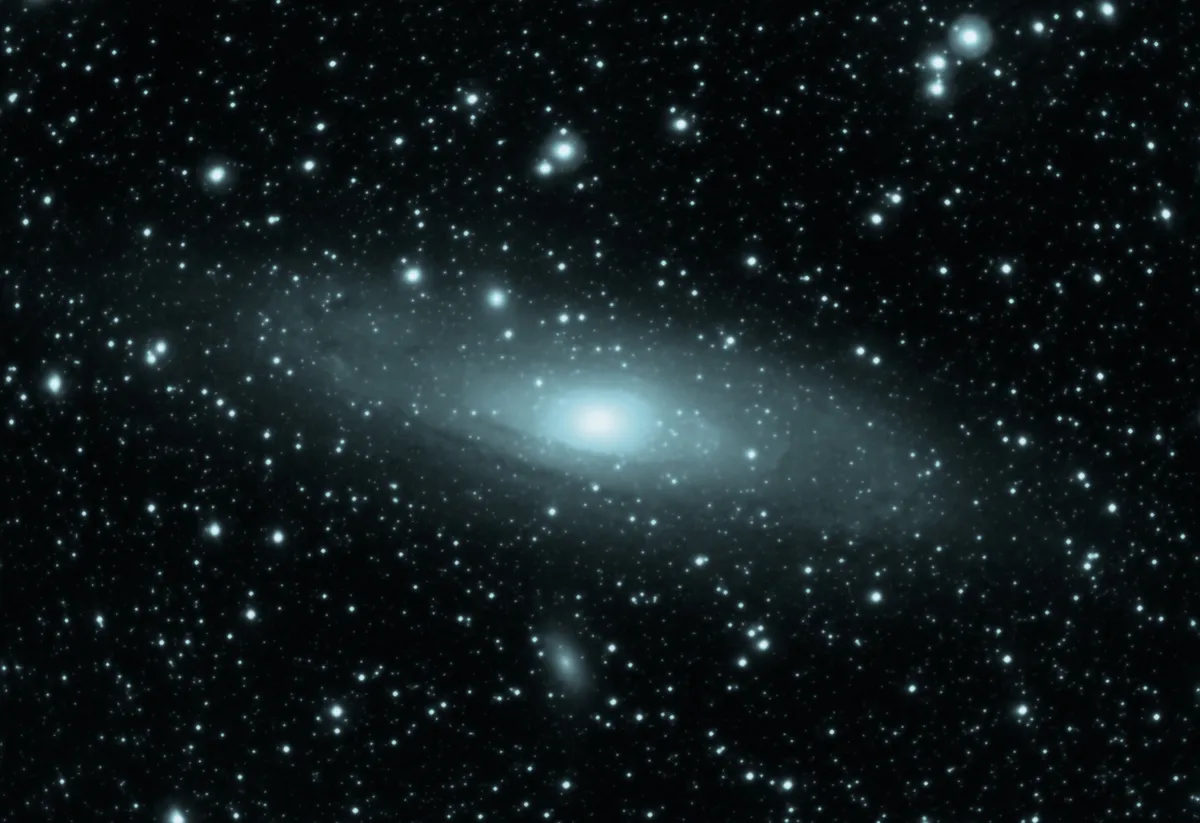
And here's a shot from that setup.
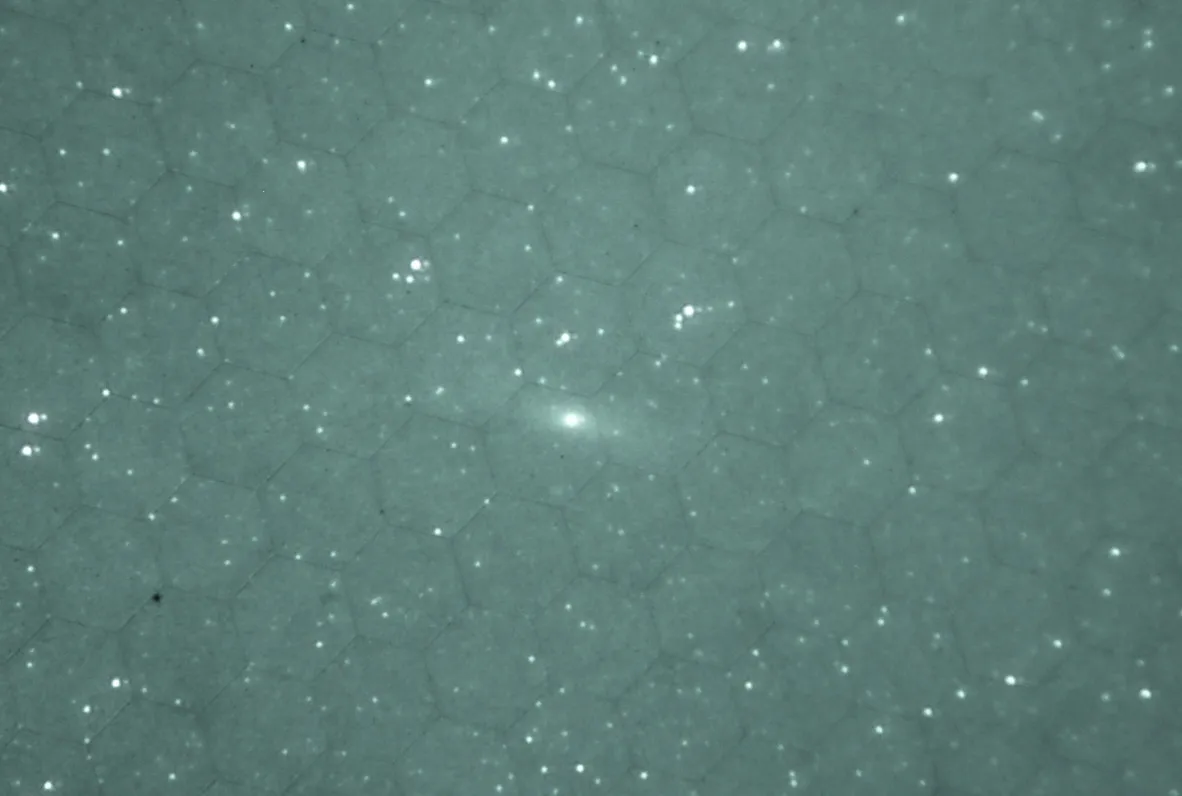
Andromeda Galaxy, shot on a Canon EOS 7D mark II and Canon EF-S 24-55mm STM lens, using an AN/PVS-14 NVD with L3Harris 18UM IIT. Exposure settings: 1”, f/1.2, ISO 100. Filter: 680nm low-pass.
After this, I discovered that I could stack the images, now getting involved with traditional astrophotography techniques. Stacking the image allowed me to increase the data I have while increasing signal-to-noise. I would also experiment with various IR-pass filters, switching from a 680 to a 720 nm filter.
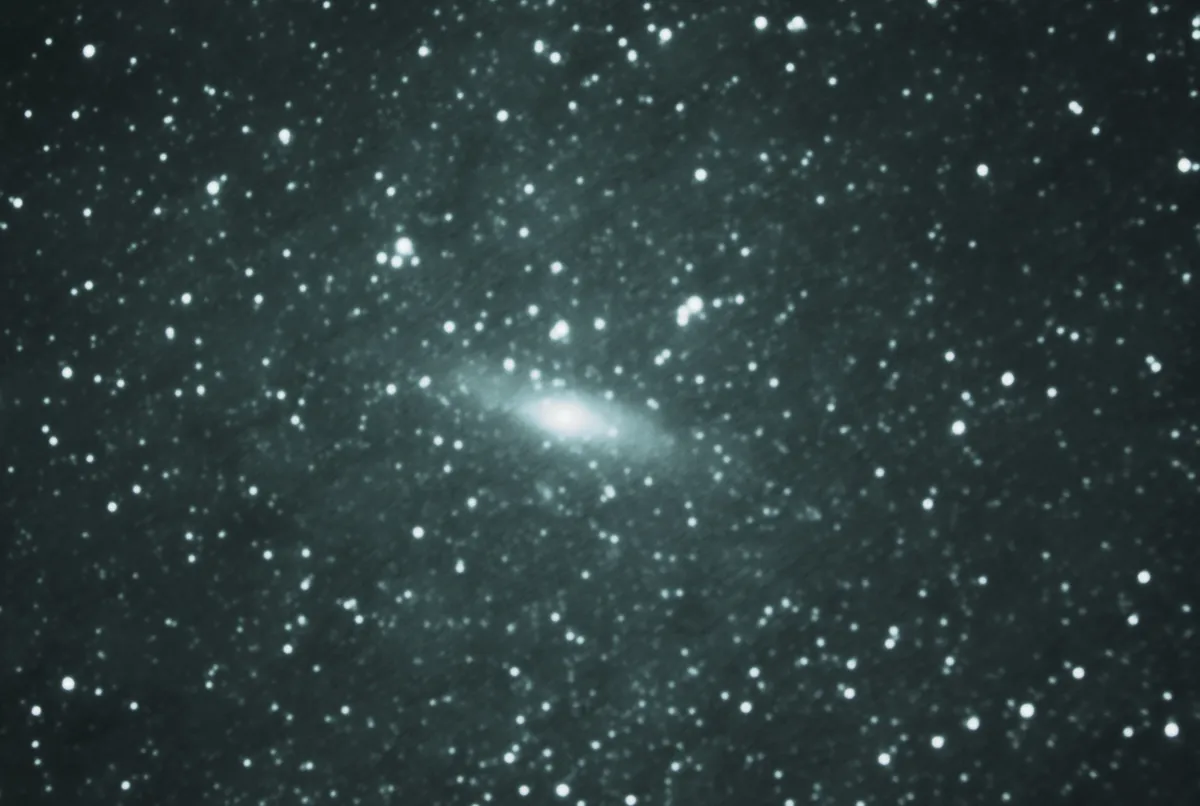
Andromeda Galaxy, shot on a Canon EOS 7D mark II and Canon EF-S 24-55mm STM lens, using an AN/PVS-14 NVD with L3Harris 18UM IIT. Exposure settings: 1”, f/1.2, ISO 100, 4.2 min integration. Filter: 720nm low-pass.
The next logical step was getting more magnification, so I stuck a 3x afocal magnifier onto the PVS-14. This would allow me to capture more detail, although at the cost of increased weight and optical distortion. I was also learning how to better process the image, and this one was reprocessed by a friend of mine.
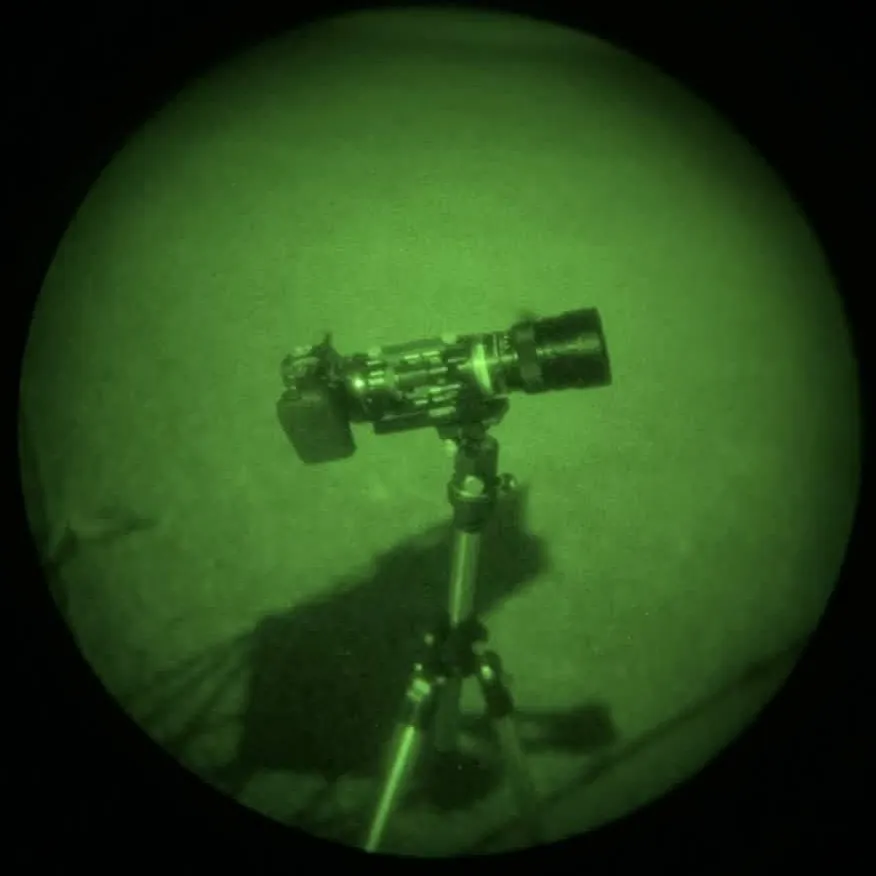
Here's what the setup looked like:
Canon EOS 7D mark II with AN/PVS-14 and USGI 3x magnifier
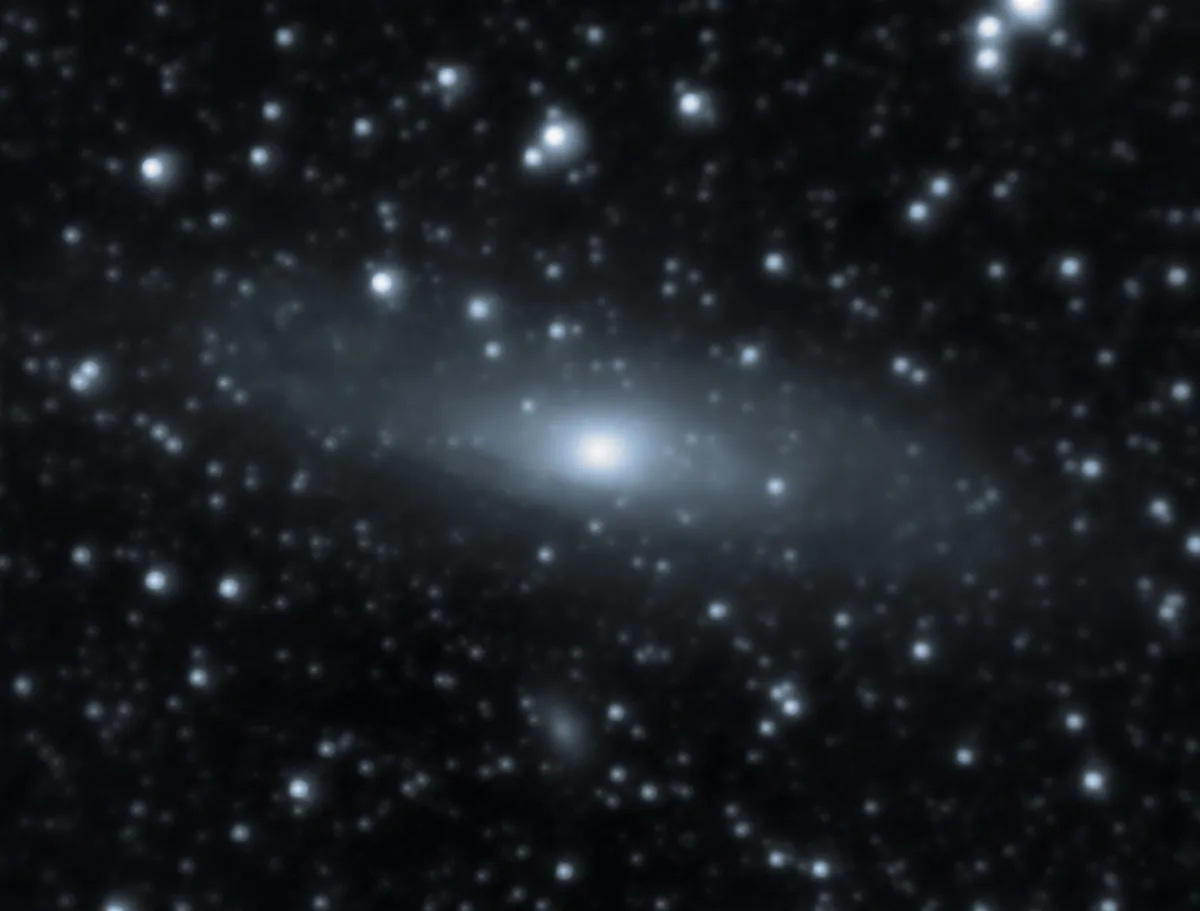
And here's a shot from that setup.
Andromeda Galaxy, shot on a Canon EOS 7D mark II and Canon EF-S 24-55mm STM lens, using an AN/PVS-14 NVD with L3Harris 18UM IIT and USGI 3x magnifier. Exposure settings: 1.3”, f/1.3, ISO 100, 30 min integration. Filter: 650nm low-pass.
Being rather disappointed with the performance of my 3x magnifier, I would proceed to get sucked into the world of relay lenses, and specialized NV photographic devices. One relay lens/NVD I would end up using was the OFUS/Nvisys GEM-II NVD, which attached directly to the Canon EF lens system. The GEM-II replaced the f/1.4 objective with an EF bayonet mount, and had a relay lens that directly projected the IIT output onto the camera sensor, attaching to the camera via a EF mount. The GEM-II was not perfect, but the ability to capture more detail with bigger lenses was a step in the right direction, though the image sharpness would leave a lot to be desired. I would also switch to using interference filters over absorption filters around this time.
Here's what the setup looked like:
And here's a shot from that setup. Note the soft stars cause by both the vintage lens and the relay lens setup.
 Andromeda Galaxy, shot on a Canon EOS 7D mark II and Canon FD 135mm f/2 lens, using an Ofus/Nvisys GEM-II NVD with L3Harris 18UM IIT. Exposure settings: 1.3”, f/2.8, ISO 400, 19.2 min integration. Filter: 685nm low-pass.
To make a long story short, I ended up picking up a c-mount litton M944A and its corresponding T2 relay lens (disclaimer: Carlough Manufacturing gave me the relay lens as part of the compensation for my work.) Ultimately, this NVD is what i'm probably settling with, unless someone develops an equivalent relay lens for the PVS-14, or I find a low-distortion option for PVS-14 lenses mounted to a camera. I also got a Canon EF 200mm f/2.8 L II prime lens, since I managed to pick it up for a decent price. The combination of a sharp relay lens system and a sharp objective lens makes for one of my best shots i've taken. This shot of Andromeda is the culmination of my unguided/untracked astrophotography, and happens to be a really nice shot in general. The NIR shines through andromeda differently than visible light does, and it looks a bit different as a result. It could also be stretched poorly as well. This image also has a relatively short integration time, and was actually composited from two different days worth of data.
Here's what the setup looked like:
And here's a shot from that setup.
Andromeda Galaxy, shot on a Canon EOS RP and Canon EF 200mm f/2.8 L II lens, using a Litton M944A NVD and Litton 1x SLR relay lens with L3Harris 18UM IIT. Exposure settings: 2”, f/2.8, ISO 200, 10 min integration. Filter: 685nm low-pass.
I've come a long way since I've started doing I2AP, and I plan on further honing my skills with astrophotography. It's a niche imaging technique I seldom see due to its high barrier of entry and many downsides compared to conventional astrophotography, but I think the advantages (NIR and red sensitivity) and the 60,000x tube gain makes for relatively short integration times.
Next up: A review of several NV relay lens systems and a head-to-head comparison of two pocketscope relay lenses.